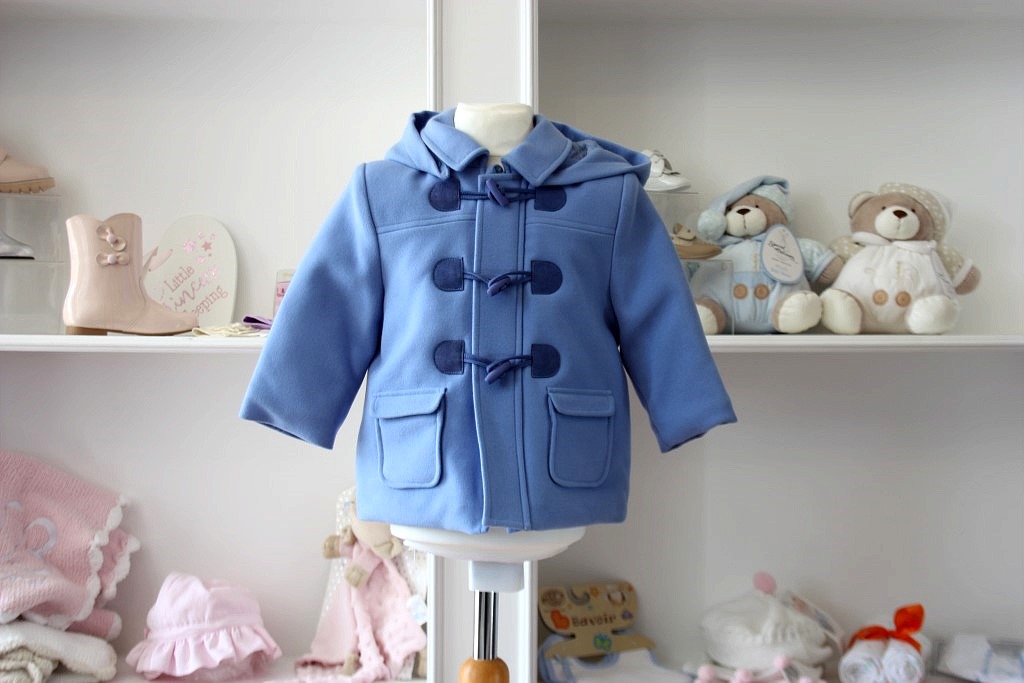
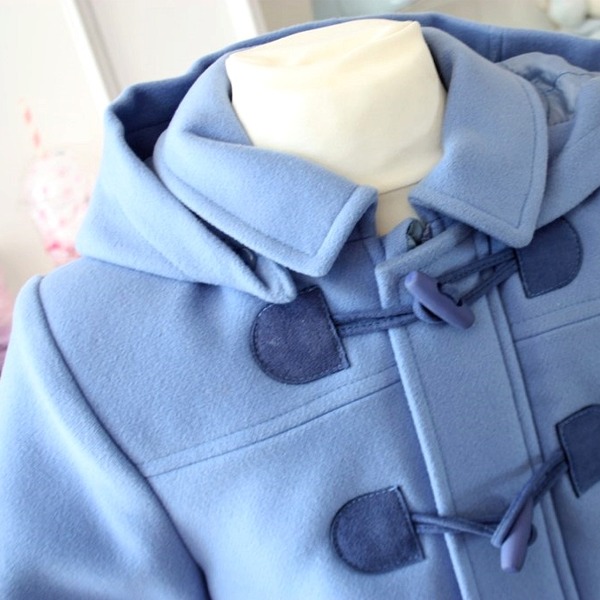
Here are a few of our simple tips for taking great product shots…
- Background
Decide whether you’re going to have a background or have the background removed.If you’re going to have the background removed, try to keep it clean/simple (not complex – which makes it hard to define the edge of the product) – and ideally white (or contrasting to your product colour). We recommend sending images away to be “clipped” professionally – it should cost between 15-50p depending on the amount of images you have (the more you have the cheaper it is).If you’re going to have a background, also keep it simple – so not to distract from the product. You could also have a relevant background – slightly blurred out (or not in the same focus as the project). Here’s an example…

- Lighting
If you’re not able to get hold of a lighting rig then try to shoot your product in sunlight. Don’t use a flash on your products – this will generate shadows and likely means the space where you’re taking the shot is too dark – dark photos (espically when the background is removed) look bad. - Camera
Most digital cameras these days will do a decent job. Ensure your camera is set to high resolution – using auto focus. There’s no need for a “RAW” format – JPG is fine. If you’re sending your images away to be “clipped” – always send the highest-resolution photos possible. - Close Ups
Particularly with clothing, it’s best to try and get a few close ups of the product’s details – this will help the buyer make a choice. - Editing
There are many free editing apps/softwares available to brighten and sharpen your images if needed – but be careful not to over-edit them, espically if your product is a specific colour or shade, this should always be shown as close to true as possible. - Posting
As well as using your photos on your website, you can use them on your social media channels too – perhaps with text on top or as a gallery (in Instagram).

